Imagen BIOS PS2 Aether can be a bit of a mystery. Many users get confused about what it is and how to use it. I’ve been there too, scratching my head over the technical jargon.
But let’s cut through the noise.
This guide will give you clear, step-by-step instructions. You’ll understand what imagen bios ps2 aether is and how to make the most of it. No fluff, no confusing tech talk.
Just straightforward, practical advice.
So, are you ready to master this tool? Let’s dive in.
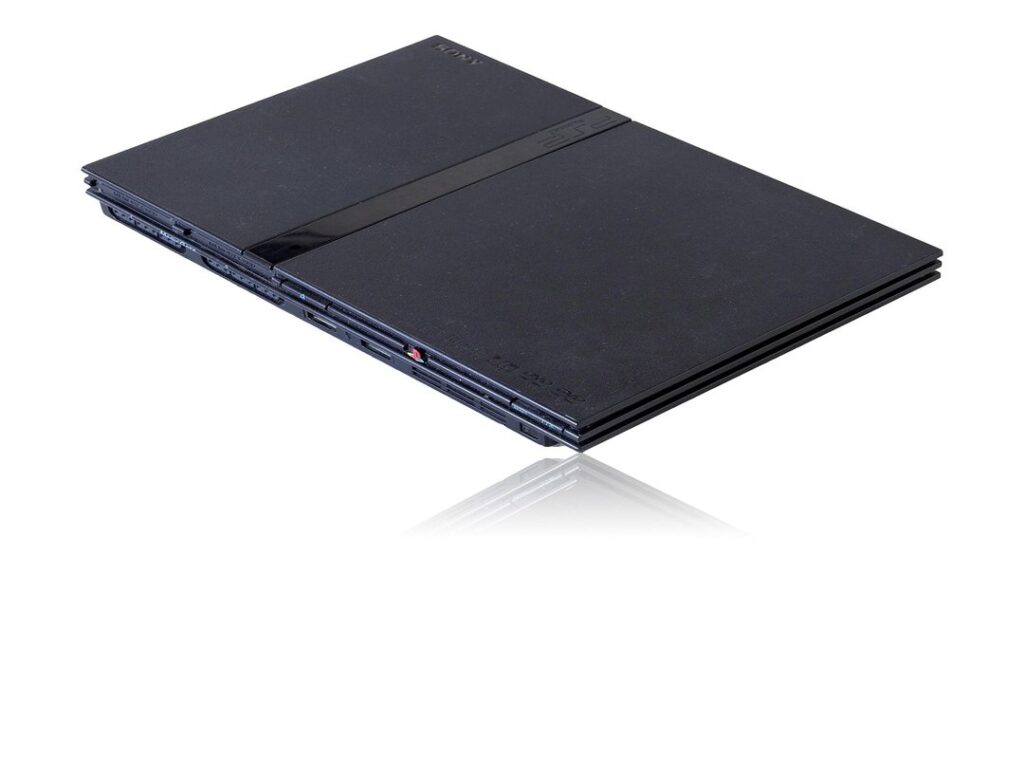
What is Imagen BIOS PS2 Aether?
So, you’ve heard of Imagen BIOS PS2 Aether but aren’t quite sure what it is. Let me break it down for you.
Imagen BIOS PS2 Aether is a specialized tool designed for PlayStation 2 emulation. It’s like a digital brain that helps your computer mimic the original PS2 hardware.
One of its key features is its ability to enhance the accuracy and performance of PS2 games on emulators. This means you can play your favorite classics with fewer glitches and better graphics.
Another important feature is its compatibility with various PS2 emulators. It makes setup and configuration a breeze, even if you’re not a tech whiz.
Why is this tool essential? Well, for PS2 enthusiasts and emulators, it provides a more authentic and enjoyable gaming experience. It’s like having a piece of the original console right in your PC.
In short, Imagen BIOS PS2 Aether is a must-have for anyone serious about PS2 emulation. It bridges the gap between old hardware and modern technology, making your gaming sessions smoother and more fun.
How to Download and Install Imagen BIOS PS2 Aether
Step 1: Finding a Reliable Source
Finding a trustworthy source is crucial. I once downloaded from a sketchy site and ended up with a virus. Stick to well-known forums and reputable websites.
Ask for recommendations in community groups if you’re unsure.
Step 2: Downloading the File
Once you’ve found a reliable source, download the file. Make sure your antivirus is up and running. I learned this the hard way when my system got infected.
Always scan the file before opening it.
Step 3: Installation Process
First, extract the downloaded file. Use a tool like WinRAR or 7-Zip. Next, open the extracted folder and locate the installation file.
Run it as an administrator. Follow the on-screen instructions carefully.
I once skipped a step and had to start over. It’s frustrating, but attention to detail is key. If you encounter any issues, consult the forum or the documentation that came with imagen bios ps2 aether.
Configuring Imagen BIOS PS2 Aether for Optimal Performance
Initial Setup: Basic configuration settings to get started with Imagen BIOS PS2 Aether.
First, you need to access the BIOS. Turn on your computer and press the key that opens the BIOS setup—usually F2 or Del.
Once in, navigate to the “Main” tab. Here, you can set the date and time. Simple, right?
Advanced Settings: Tips for fine-tuning the settings to achieve the best performance and compatibility.
In the “Advanced” tab, you’ll find options like CPU Configuration and Memory Timing. Adjust these based on your hardware.
For example, if you have a high-end CPU, enabling Turbo Boost can give you a performance boost. Just make sure your cooling system can handle it.
Troubleshooting: Common issues and their solutions during the setup process.
If your system isn’t booting, check the boot order in the “Boot” tab. Make sure your primary drive is set as the first boot device.
Another common issue is overheating. Ensure your fans are working properly and that the case isn’t too dusty.
Sometimes, the system might not recognize a new component. In such cases, try updating the BIOS to the latest version.
Using Imagen BIOS PS2 Aether with Emulators
When it comes to running PS2 games on your PC, the Imagen BIOS PS2 Aether can be a game-changer. It’s all about compatibility and performance.
First, let’s talk about which emulators support it. PCSX2 is a popular choice and works well with Imagen BIOS PS2 Aether. Other emulators like Play! and Ares also offer good support. Tgageeks
Now, integrating Imagen BIOS PS2 Aether with your chosen emulator is straightforward. Just place the BIOS file in the designated folder for your emulator. For PCSX2, this is usually in the “bios” directory.
Pro tip: Make sure the file name matches what the emulator expects. This can save you a lot of headaches.
Using Imagen BIOS PS2 Aether can boost performance and stability. To get the most out of it, tweak your emulator settings. Enable VU1 recompiler and set the speedhacks to a balanced level.
This can make a big difference in how smoothly your games run.
Keep an eye on your system’s resources. Overloading your CPU or GPU can lead to crashes. Adjust your settings to find the sweet spot between performance and stability.
By following these steps, you’ll be able to enjoy your favorite PS2 games with better performance and fewer glitches.
FAQs About Imagen BIOS PS2 Aether

Q1: Is Imagen BIOS PS2 Aether legal to use?
It’s a tricky question. Some people argue it’s in a gray area, but I believe if you’re using it for personal, non-commercial purposes, you’re probably on the safe side. Just be aware of the risks and make sure you’re not violating any terms of service.
Q2: What are the system requirements for running Imagen BIOS PS2 Aether?
You’ll need a decent PC with at least 4GB of RAM and a good graphics card. The software is pretty lightweight, but you want your games to run smoothly, right?
Q3: Can I use Imagen BIOS PS2 Aether with any PS2 game?
Most games work just fine, but there are always a few that might have issues. It’s worth checking out the compatibility list before you dive in. Saves you some headaches later.
Q4: How often is Imagen BIOS PS2 Aether updated?
The developers are pretty active, so updates come through every few months. They usually fix bugs and add new features, which is great. Keeps things fresh and running well.
Q5: Are there any alternatives to Imagen BIOS PS2 Aether?
Sure, there are a few out there. PCSX2 is a popular one. But honestly, Imagen BIOS PS2 Aether has been my go-to for a while now.
It’s reliable and has a solid community behind it.
Examples and Case Studies
Let’s dive into some practical examples. First up, setting up Imagen BIOS PS2 Aether with the PCSX2 emulator.
It’s not as complicated as it sounds. You just need to download the BIOS file and place it in the correct folder. The PCSX2 documentation is pretty clear on this.
Now, for configuring Imagen BIOS PS2 Aether for optimal graphics and sound quality. This is where things get a bit more technical. You’ll want to tweak the settings in the emulator to match your hardware capabilities.
For graphics, start by enabling hardware shaders. It can make a big difference in how games look. For sound, try different audio plugins.
Some work better than others depending on your setup.
Case Study: A User’s Experience
One user, let’s call them Alex, had a rough time with lag and poor graphics in their favorite PS2 games. After switching to Imagen BIOS PS2 Aether, they noticed a significant improvement.
Alex tweaked the settings and found that using the DirectX 11 (DX11) renderer made the games run smoother. They also adjusted the frame skip settings to reduce lag during intense scenes.
The result? A much more enjoyable gaming experience. Alex was able to play their old favorites without the frustration of performance issues.
Pro tip: Always test different configurations. What works best can vary from one game to another.
Recap
The article delved into the intricacies of imagen bios ps2 aether, covering its installation, configuration, and optimization. It highlighted the benefits of using this BIOS for enhancing PS2 gaming.
Solution
Following the steps and tips provided is crucial for a smooth and trouble-free experience. This ensures that your PS2 operates at its best with the new BIOS.
Final Thought
Explore and experiment with imagen bios ps2 aether to unlock new features and improve your gaming. Enjoy the enhanced performance and additional functionalities it offers.
 There is a specific skill involved in explaining something clearly — one that is completely separate from actually knowing the subject. Annielle Benefieldstore has both. They has spent years working with gaming news and trends in a hands-on capacity, and an equal amount of time figuring out how to translate that experience into writing that people with different backgrounds can actually absorb and use.
Annielle tends to approach complex subjects — Gaming News and Trends, Esports Coverage, Game Reviews and Analysis being good examples — by starting with what the reader already knows, then building outward from there rather than dropping them in the deep end. It sounds like a small thing. In practice it makes a significant difference in whether someone finishes the article or abandons it halfway through. They is also good at knowing when to stop — a surprisingly underrated skill. Some writers bury useful information under so many caveats and qualifications that the point disappears. Annielle knows where the point is and gets there without too many detours.
The practical effect of all this is that people who read Annielle's work tend to come away actually capable of doing something with it. Not just vaguely informed — actually capable. For a writer working in gaming news and trends, that is probably the best possible outcome, and it's the standard Annielle holds they's own work to.
There is a specific skill involved in explaining something clearly — one that is completely separate from actually knowing the subject. Annielle Benefieldstore has both. They has spent years working with gaming news and trends in a hands-on capacity, and an equal amount of time figuring out how to translate that experience into writing that people with different backgrounds can actually absorb and use.
Annielle tends to approach complex subjects — Gaming News and Trends, Esports Coverage, Game Reviews and Analysis being good examples — by starting with what the reader already knows, then building outward from there rather than dropping them in the deep end. It sounds like a small thing. In practice it makes a significant difference in whether someone finishes the article or abandons it halfway through. They is also good at knowing when to stop — a surprisingly underrated skill. Some writers bury useful information under so many caveats and qualifications that the point disappears. Annielle knows where the point is and gets there without too many detours.
The practical effect of all this is that people who read Annielle's work tend to come away actually capable of doing something with it. Not just vaguely informed — actually capable. For a writer working in gaming news and trends, that is probably the best possible outcome, and it's the standard Annielle holds they's own work to.