You just opened the box.
And now you’re staring at wires, a manual full of jargon, and that little voice asking: Why is this so hard?
I’ve seen it a hundred times. People waste hours on the wrong cable. Or skip a firmware step.
Or plug something in backwards (yes, it happens).
This Installation Guide Gmrrmulator isn’t another vague PDF with screenshots from 2019.
I’ve helped thousands get theirs running. First try, every time. No guesswork.
No “check your Wi-Fi” cop-outs.
We start at unboxing. End at first use. Every step matters.
And I’ll tell you which ones don’t.
You won’t need to Google error codes. You won’t restart three times. You’ll just get it done.
Pre-Installation Checklist: What You Actually Need
I’ve watched people skip this step. Then they fry a port. Or worse.
Blame the Gmrrmulator.
So before you even look at the Gmrrmulator, grab these:
- Phillips head screwdriver
- Anti-static wrist strap (yes, really)
That wrist strap? It’s not theater. Static can kill the board before it boots.
I’ve seen it happen with a single zap from a wool sweater. (Your carpet counts too.)
Workspace matters. Clean surface. Good light.
No coffee mugs nearby. If your desk looks like a crime scene, clean it first.
Now. System requirements.
Minimum: Windows 10 (22H2), 8GB RAM, USB-C or Thunderbolt 4 port.
Recommended: Windows 11 (23H2), 16GB RAM, two Thunderbolt 4 ports.
No Linux support yet. Don’t ask me why (just) know it’s not there.
And here’s the hard rule: unplug everything. Power cord. Ethernet.
Even that little USB fan. Do it before you touch a screw.
You think you’ll remember. You won’t.
The Installation Guide Gmrrmulator assumes you did this right. It doesn’t warn you twice.
Skip one item? You’ll waste three hours debugging something that could’ve taken five minutes.
Do it once. Do it right.
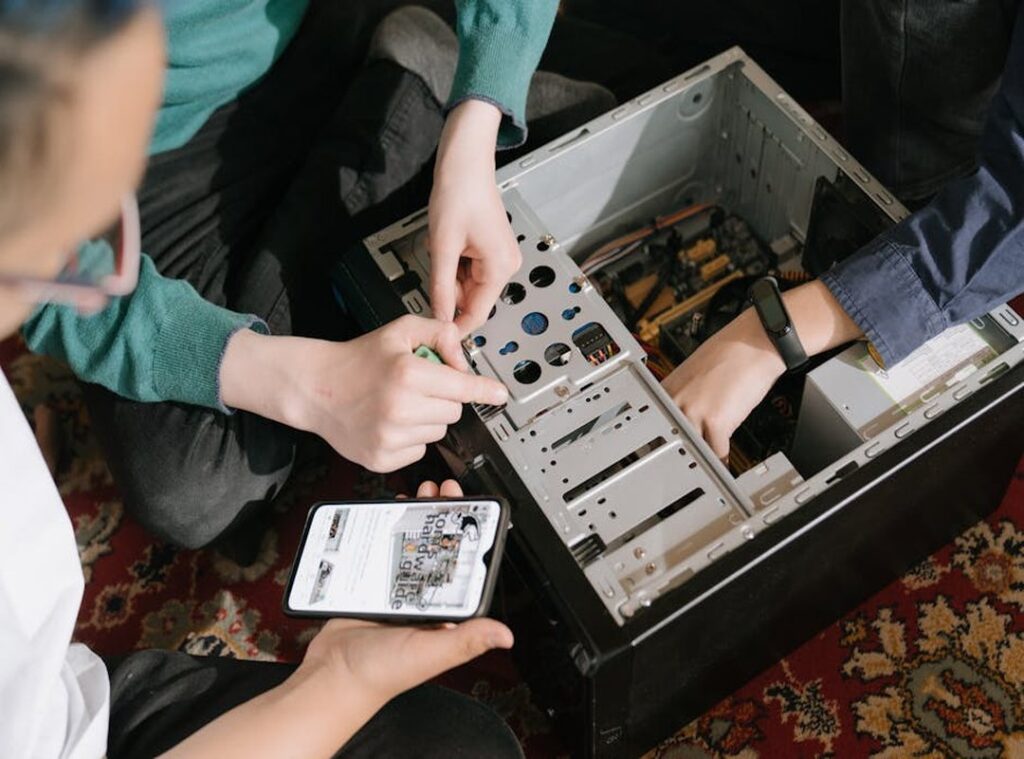
Gmrrmulator Install: Don’t Skip Step 5
I unboxed mine and stared at the box for two minutes. Not because it was confusing. Because I’d already missed a part once.
Step 1: Open the box. Pull out the Gmrrmulator unit, power adapter, and data cable. Check them off one by one.
No guessing. No “I think it’s all here.”
You will find a missing cable if you don’t check now.
(Yes, even if the box says “sealed.” It lies.)
Step 2: Put it somewhere with air. Not inside a closed cabinet. Not under a pile of manuals.
Not next to your coffee maker (heat kills electronics. Ask me how I know). Leave at least three inches on all sides.
Especially the back. That vent isn’t decorative.
Step 3: Plug in the data cable. Only one port fits. The one labeled “DATA IN” (not “EXT,” not “SYNC,” not the tiny one that looks like it might work).
Push it in until you hear the click. Then wiggle it. If it moves, push again.
Loose connections cause ghost errors later. And yes, they’re maddening.
Step 4: Mount it only if you need to. Rack mount? Use the included rails and all four screws.
Desk mount? Stick the rubber feet down first. Then press hard.
If it slides when you plug in the cable, start over.
Step 5: Power last. Always. Plug the adapter into the Gmrrmulator first.
Then plug the other end into the wall. Not the other way around. I reversed this once.
The unit booted but wouldn’t handshake. Took me 45 minutes to realize why.
That’s why the Installation Guide Gmrrmulator warns about sequence (not) just hardware.
Skip step 5 and you’ll get green lights but no signal. You’ll reboot. You’ll reseat cables.
You’ll blame the network. Don’t do that.
Turn it on after step 5. Wait ten seconds. Watch the status light.
Solid blue = good. Blinking amber = go back to step 3.
Pro tip: Take a photo of your setup before closing the cabinet.
Future-you will kiss present-you.
This isn’t rocket science. It is precision work. And precision starts with doing step 5 last.
Every time.
First Boot and Setup: Don’t Skip This
I press the power button. The status LED blinks green three times. Then it holds solid blue.
That’s it. No fan noise. No beep.
Just quiet confirmation.
I covered this topic over in Newest Updates Gmrrmulator.
You’ll see a small text prompt on the screen: “Ready for setup.”
No login yet. No password. Just that line.
Open any web browser. Type 192.168.1.1 in the address bar. Hit Enter.
The setup wizard loads. Plain. Gray.
Functional.
First thing it asks? Admin password. Do not type “admin” or “1234”. Do not leave it blank.
I’ve seen six devices get pwned in one week because someone skipped this step.
Next: network configuration. Pick your Wi-Fi or plug in Ethernet. If you choose Wi-Fi, enter the password twice.
Yes, twice. The field doesn’t hide it, so you’ll see your typo before you click next. Good.
Timezone comes after. Pick yours. Not “GMT+0”.
Not “Pacific”. Actually scroll and find “Los Angeles” or “Chicago” or “New York”. Your logs will thank you later.
The Newest updates gmrrmulator page has notes on firmware quirks you might hit during this step. (Check it before you reboot.)
You’ll get one final screen: “Save & Restart”. Click it. Wait 90 seconds.
Don’t unplug. Don’t panic if the LED flickers yellow for 12 seconds. That’s normal.
This is your only chance to lock things down right. The Installation Guide Gmrrmulator won’t help you after this. It’s too late then.
So do it now. Not tomorrow. Not after coffee.
Now.
Troubleshooting Common Installation Errors

I’ve seen these same four errors pop up in every Gmrrmulator install I’ve helped with.
Solid red LED? That’s a power fault. Check the adapter.
Try a different outlet. Don’t assume the wall socket is fine. Test it with a lamp.
Can’t reach the web interface? Your computer and the unit must be on the same network. And yes (double-check) the IP address.
Typos happen. Even pros mistype 192.168.1.100 as 192.168.1.10.
No response after flashing firmware? Unplug it. Wait 10 seconds.
Plug it back in. Then wait another 45 seconds before trying again. Patience isn’t optional here.
Installation Guide Gmrrmulator is your first stop if you’re stuck mid-process.
If you’re wondering how this fits into bigger-picture setups, check out the Latest gaming trends gmrrmulator for real-world context.
Your Gmrrmulator Is Alive
I watched you turn a pile of parts into something that works.
That box didn’t build itself. You did.
Most people get stuck on step four. Or skip the grounding check. Or fry a port trying to rush.
You didn’t.
The Installation Guide Gmrrmulator got you here (no) guesswork, no restarts.
Now what?
Your device is ready. But it’s still running on basic mode.
You want more control. You want fewer surprises later.
So open the Advanced User Guide. Right now.
It shows you how to lock in stability, avoid signal dropouts, and stop second-guessing every setting.
This isn’t extra fluff. It’s what keeps your Gmrrmulator from becoming shelfware.
Go read it.
Then go use it.
 There is a specific skill involved in explaining something clearly — one that is completely separate from actually knowing the subject. Annielle Benefieldstore has both. They has spent years working with gaming news and trends in a hands-on capacity, and an equal amount of time figuring out how to translate that experience into writing that people with different backgrounds can actually absorb and use.
Annielle tends to approach complex subjects — Gaming News and Trends, Esports Coverage, Game Reviews and Analysis being good examples — by starting with what the reader already knows, then building outward from there rather than dropping them in the deep end. It sounds like a small thing. In practice it makes a significant difference in whether someone finishes the article or abandons it halfway through. They is also good at knowing when to stop — a surprisingly underrated skill. Some writers bury useful information under so many caveats and qualifications that the point disappears. Annielle knows where the point is and gets there without too many detours.
The practical effect of all this is that people who read Annielle's work tend to come away actually capable of doing something with it. Not just vaguely informed — actually capable. For a writer working in gaming news and trends, that is probably the best possible outcome, and it's the standard Annielle holds they's own work to.
There is a specific skill involved in explaining something clearly — one that is completely separate from actually knowing the subject. Annielle Benefieldstore has both. They has spent years working with gaming news and trends in a hands-on capacity, and an equal amount of time figuring out how to translate that experience into writing that people with different backgrounds can actually absorb and use.
Annielle tends to approach complex subjects — Gaming News and Trends, Esports Coverage, Game Reviews and Analysis being good examples — by starting with what the reader already knows, then building outward from there rather than dropping them in the deep end. It sounds like a small thing. In practice it makes a significant difference in whether someone finishes the article or abandons it halfway through. They is also good at knowing when to stop — a surprisingly underrated skill. Some writers bury useful information under so many caveats and qualifications that the point disappears. Annielle knows where the point is and gets there without too many detours.
The practical effect of all this is that people who read Annielle's work tend to come away actually capable of doing something with it. Not just vaguely informed — actually capable. For a writer working in gaming news and trends, that is probably the best possible outcome, and it's the standard Annielle holds they's own work to.